Introduction
Eye Candy Pigments have become extremely popular in the arts and crafts community. Artists and hobbyists love them for their bright colors and easy application. These pigments are known for their bold shades and can be used in a wide range of projects, such as painting and epoxy resin art.
In this article, we will show you how to create stunning looks using Eye Candy Pigments in three simple steps. Whether you’re new to these pigments or looking to improve your skills, this guide will offer practical tips and insights.
For example, if you’re interested in a unique project like making a book nook, explore the world of vibrant artistry with Eye Candy Pigments. Discover how these pigments can take your creative projects to new levels.
Step 1: Selecting Your Colors with Eye Candy Pigments
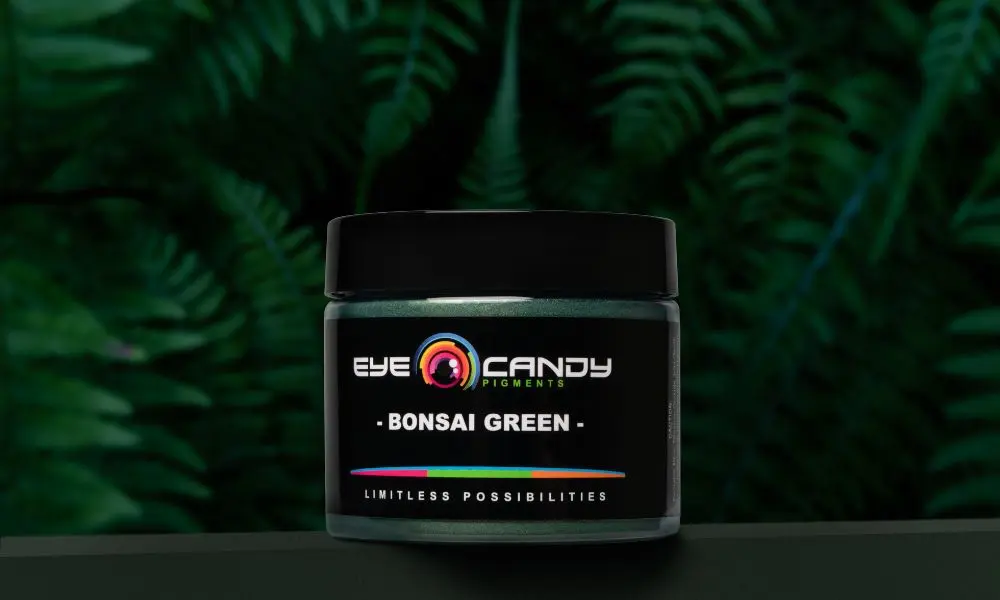
Choosing the right colors is like setting the stage for your masterpiece. It can make or break the vibe you’re aiming for in your project. When diving into the world of Eye Candy Pigments, you’re met with a dazzling array of colors that invite creativity and experimentation. Whether you’re going for a bold, eye-catching look or a subtle, harmonious blend, Eye Candy Pigments offer a wide range of hues to suit every artistic vision. Take your time to explore the vast color palette and consider how different shades can evoke different moods or enhance specific elements in your project. Remember, there are no rules when it comes to art – let your imagination run wild and trust your instincts when selecting your Eye Candy Pigments.
Why Color Selection Matters
Colors have the power to evoke emotions, tell stories, and transform ordinary pieces into extraordinary art. The right combination can bring balance, harmony, and depth to your work. Whether you’re going for a serene oceanic feel or an intense fiery look, choosing the right pigments is crucial.
A Palette of Possibilities
Eye Candy Pigments offers a spectrum of hues that cater to every artistic whim:
- Pacific Blue Mica: Perfect for capturing the essence of tranquil seas or a cool breeze.
- Deep Red: A bold choice that speaks volumes, ideal for projects requiring warmth and intensity.
- Senshi Red: This vibrant red adds a touch of drama and excitement to any piece.
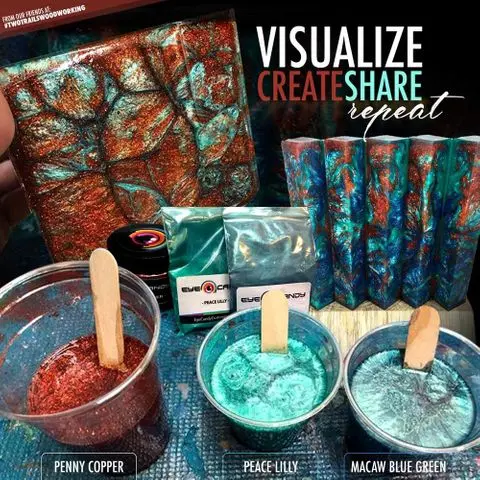
- Penny Copper: With its metallic sheen, it brings an opulent touch reminiscent of vintage elegance.
- Red Tide Pigment Paste: Offers a rich, deep hue that’s perfect for creating captivating effects.
Each pigment has unique characteristics that can dramatically change your project’s outcome. Whether you blend them for subtle transitions or use them boldly on their own, these colors let you paint your imagination vividly onto any canvas.
Step 2: Mixing Techniques for Optimal Results with Eye Candy Pigments
Creating stunning effects with Eye Candy Pigments often relies on how well you mix them. The right mixing technique can transform your artwork, bringing out vibrant hues and dynamic contrasts. Step 2: Mixing Techniques for Optimal Results with Eye Candy Pigments
Creating stunning effects with Eye Candy Pigments often relies on how well you mix them. The right mixing technique can transform your artwork, bringing out vibrant hues and dynamic contrasts. Here are a few techniques to consider:
1. Gradual Mixing: Start by adding small amounts of pigment to your base color, gradually increasing the intensity as desired. This method allows for precise control over color saturation.
2. Layering: Apply multiple thin layers of different pigments to create depth and complexity. Experiment with different combinations to achieve unique visual effects.
3. Wet-on-Wet Blending: Apply a wet base layer of paint and while it’s still wet, introduce the pigments onto the canvas. Use a brush or palette knife to blend the colors together, creating seamless transitions.
Remember, practice makes perfect. Don’t be afraid to experiment and explore new techniques. With Eye Candy Pigments’ vast range of colors and your creative vision, the possibilities are endless. So go ahead, unleash your inner artist and let these pigments breathe life into your work.
Why Mix Different Pigments?
Mixing different pigment pastes is crucial because it allows you to customize colors and achieve a variety of effects. Whether you’re aiming for an opaque look that provides solid coverage or a translucent look that offers a subtle, layered feel, mixing is key.
Key Benefits of Pigment Mixing:
- Color Customization: Create unique shades that match your specific vision
- Cost Efficiency: Reduce the need to purchase multiple pre-mixed colors
- Texture Control: Adjust the consistency to suit different application methods
- Project Versatility: Adapt your materials for various surfaces and techniques
When you combine different pigments, you gain precise control over:
- Intensity: Adjust the strength of your colors
- Undertones: Create subtle variations within your primary shade
- Depth: Build complex, multi-dimensional effects
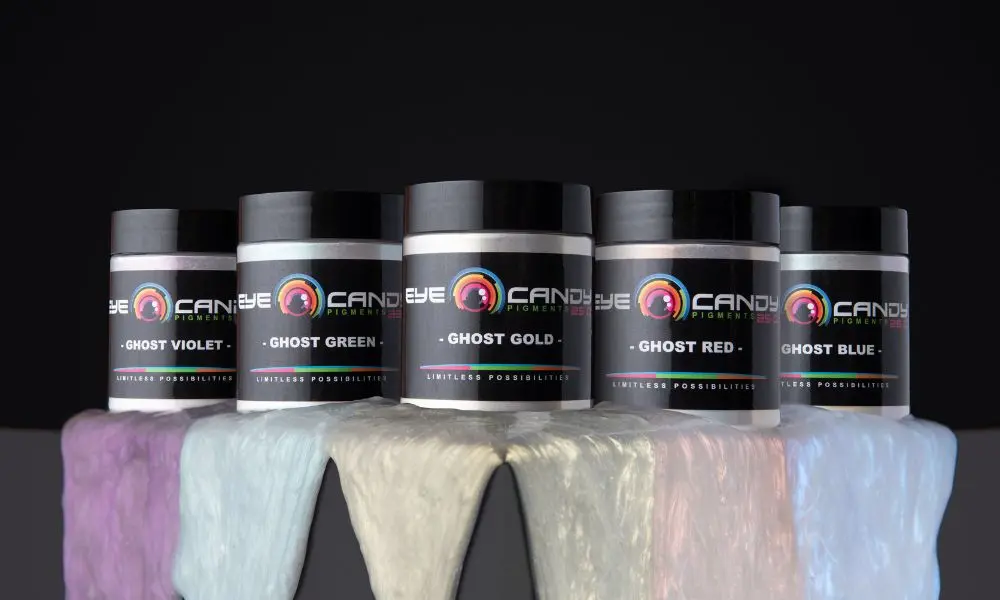
- Finish: Choose between metallic, matte, or pearl appearances
Pro Tip: Keep a color mixing journal to record your successful combinations and ratios for future reference.
Different mixing ratios can dramatically affect your final result:
- Light-to-Heavy Ratio: Use 1:3 for subtle effects
- Equal Parts: Perfect for balanced color blending
- Heavy-to-Light Ratio: 3:1 for dominant color with subtle undertones
Understanding these mixing principles helps you achieve professional-quality results while expanding your creative possibilities.
How to Mix Eye Candy Pigments Effectively
Here’s a simple guide to get the best results:
- Gather Your Materials: You’ll need your chosen Eye Candy Pigments, a mixing medium (such as resin or another clear base), and tools like stirring sticks and measuring spoons.
- Start Small: Begin by adding a small amount of pigment to your medium. This allows you to control the intensity of the color more effectively.
- Stir Thoroughly: Mix until the pigment is evenly distributed. For an opaque look, use more pigment for denser coverage. If you’re after a translucent look, use less pigment and more medium to allow light to pass through.
- Test Before Applying: Always test your mixture on a small surface before applying it to your main project, ensuring you’ve achieved your desired effect.
Experimenting with these techniques will help you discover endless possibilities and enhance the beauty of your creations with Eye Candy Pigments.
Step 3: Application Methods in Epoxy Projects
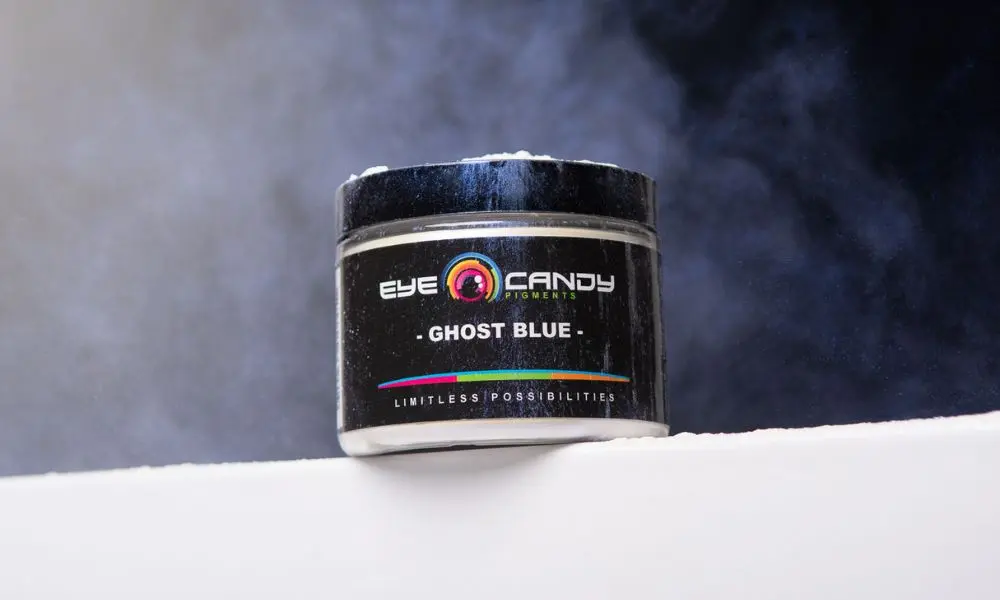
When diving into epoxy projects, Eye Candy Pigments offer a versatile range of application methods to bring your creative visions to life. Whether you’re pouring or painting, the possibilities are endless with these vibrant epoxy art pigments.
1. Pouring
This method is perfect for creating intricate patterns and flowing designs. By pouring mixed pigments into epoxy resin, you can achieve mesmerizing marbled effects or even subtle gradations of color. It’s all about playing with the fluidity and layering different hues to create depth.
Key Pouring Techniques:
- Dirty Pour – Combine multiple colors in one container before pouring for spontaneous patterns
- Flip Cup – Layer colors in a cup and flip it onto your surface for cell-like formations
- Ribbon Pour – Create striking linear designs by pouring in a continuous motion
Tips for Successful Pours:
- Temperature Control – Keep your workspace between 70-75°F (21-24°C) for optimal flow
- Surface Preparation – Ensure your surface is completely level to prevent uneven spreading
- Timing Matters – Pour within your epoxy’s working time to maintain proper viscosity
Pro Tip: Use a heat gun or torch briefly across the surface to remove air bubbles and enhance cell formation.
Color Layering Guide:
- Start with lighter colors as your base
- Add darker pigments strategically for depth
- Consider using metallic pigments as accent colors for dimensional effects
Remember to maintain consistent pressure while pouring to achieve uniform patterns. The thickness of your pour will affect both drying time and final appearance, so plan accordingly based on your project’s requirements.
2. Painting
For those who love precision and detail, using Eye Candy Pigments in painting techniques allows for more control over specific areas of your project. Whether it’s adding fine lines or accentuating certain elements of your design, painting with these pigments will add a unique touch to your artwork.
Essential Painting Techniques
- Brush Selection
- Use synthetic brushes for smooth application
- Natural bristles for textured effects
- Small detail brushes (size 0-2) for intricate work
- Flat brushes (1/2″-1″) for larger areas
- Application Methods
- Dry brush technique – Use minimal pigment for subtle effects
- Wet-on-wet – Apply while resin is still tacky
- Layering – Build depth with multiple thin coats
- Stippling – Create texture using a dabbing motion
Mixing Ratios
When incorporating Eye Candy Pigments into your painting process, consider these ratios:
For detailed work: Mix 1 part pigment to 4 parts resin
For coverage work: Mix 1 part pigment to 2 parts resin
For transparent effects: Mix 1 part pigment to 6 parts resin
Before committing fully to your chosen method, it’s crucial to test pigment colors on a small scale. This ensures that you achieve the desired outcome and can prevent any unexpected results from affecting your final piece. By experimenting with different combinations and observing how they interact with epoxy resin, you’ll find the perfect balance for your project.
Advanced Techniques
- Create gradient effects by blending different pigment concentrations
- Use masking tape for crisp lines and geometric patterns
- Implement cross-hatching for dimensional effects
- Layer metallic pigments over opaque bases for depth
This approach not only enhances creativity but also builds confidence in using Eye Candy Pigments effectively. Each application method offers its own charm, inviting artists to explore various techniques and push the boundaries of their imagination.
Understanding Safety and Usage Guidelines
When working with Eye Candy Pigments, safety should be a top priority. Checking the Safety Data Sheets (SDS) provided by the manufacturer is crucial. These documents offer vital information on safe handling, potential hazards, and emergency procedures related to pigments. Familiarizing yourself with the SDS ensures you’re taking necessary precautions to protect yourself and the environment.
To maintain the quality of your pigments over time, consider these best practices for storage:
- Keep Containers Sealed: Ensure containers are tightly closed when not in use to prevent contamination and moisture exposure.
- Store in a Cool, Dry Place: Avoid areas with high humidity or fluctuating temperatures which can degrade pigment quality.
- Label Clearly: Clearly label all containers with product names and dates of purchase to easily track and manage your inventory.
These steps will help ensure that your pigments stay vibrant and ready for your next artistic endeavor.
Customer Reviews and Quality Comparison with Other Brands
Eye Candy Pigments have captured the hearts of artists and hobbyists alike, thanks to their vibrant hues and user-friendly nature. Here are some snippets from customer reviews that highlight their experiences:
Vibrancy
Many users rave about the intense colors Eye Candy Pigments offer. One artist shared, “The vibrancy of these pigments is unmatched! My projects have never looked more alive.”
Ease of Use
Another customer mentioned, “Mixing and applying these pigments was a breeze. Even as a beginner, I achieved professional-looking results.”
When it comes to quality comparison with other pigment brands, Eye Candy Pigments stand out for several reasons:
- Consistency: Unlike some competitors, Eye Candy Pigments maintain a consistent texture and color payoff across different batches.
- Performance: Artists often compare them favorably to popular brands like Pearl Ex or Jacquard, praising their superior ability to blend seamlessly without losing intensity.
It’s clear from customer feedback that Eye Candy Pigments not only deliver stunning visual results but also offer a smooth and reliable experience, making them a top choice in the pigment market.
Where to Buy Eye Candy Pigments?
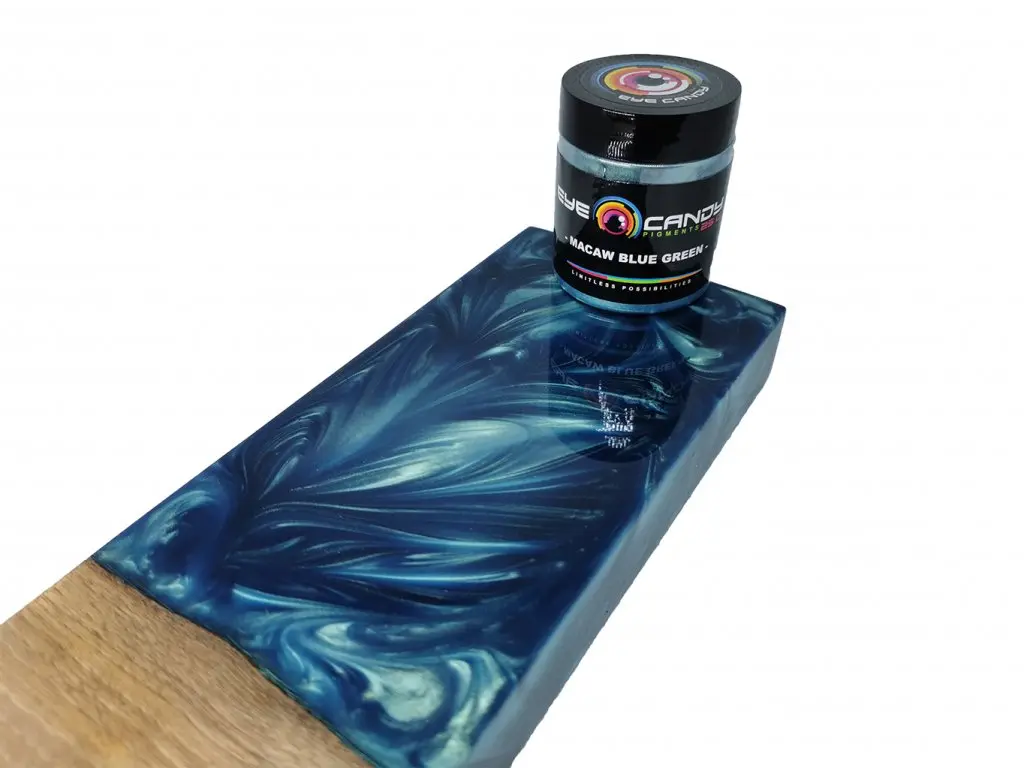
If you’re looking to add these vibrant pigments to your collection, here’s a buying guide for Eye Candy Pigments. You can easily find them at several online retailers:
- Amazon: Offers a wide range of Eye Candy Pigment products with customer reviews to help make informed decisions.
- Etsy: A great spot for unique pigment sets and individual colors directly from sellers.
- Eye Candy’s Official Website: Provides the latest collections and exclusive deals.
If you prefer shopping in-person, check local arts and crafts stores. These locations often stock popular items like Penny Copper or Red Tide Pigment Paste.
Working with Eye Candy Pigments
Mixing and Application Techniques
- Start with a small amount of pigment and gradually build up intensity
- Mix with compatible mediums like resin, polymer clay, or acrylic for different effects
- Test on a sample surface before applying to your final project
Popular Applications
Fine Art Projects
- Canvas painting with metallic accents
- Mixed media collages
- Watercolor enhancement
Craft Applications
- Resin jewelry making
- Polymer clay embellishments
- Custom paint finishes
Tips for Best Results
For maximum vibrancy, store your pigments in a cool, dry place away from direct sunlight
Safety Considerations
- Work in a well-ventilated area
- Wear appropriate protective gear
- Keep pigments away from food surfaces
Color Combinations
- Mix Penny Copper with Pearl White for a rose gold effect
- Blend Blue Hawaii with Silver Spark for an ocean-inspired shimmer
- Combine multiple metallics for unique dimensional effects
Storage and Maintenance
- Keep containers tightly sealed
- Label mixed colors for future reference
- Clean tools immediately after use
Project Ideas
- Create custom phone cases with marbled effects
- Design unique wall art with metallic accents
- Craft personalized gift packaging
- Develop signature color palettes for your brand

